

My camera does not really do them justice...
I started with these, simple RITVA curtains from Ikea...I have a kind of burlap color which is not available online...

I also have one small window and a double window in my bedroom...so I needed three curtains. Ikea curtains are made where you cut them to the length you need for your window and then use iron-on binding to make a hem at the bottom...so, I just used the access from both curtains to make a third. It worked out perfectly (and may have been a Divine blessing :))
So, once I sewed and cut the appropriate pieces, I made a stencil. I am a HUGE fan of clover shapes...and since I will probably never get the Van Cleef clover I so desire,

I decided that the print of my curtains should look like it :) So I searched Pinterest until I found this:


Then I gathered my supplies...painters tape, a drop cloth, stencil sponges and acrylic paint...I ended up using two 8 fluid oz. bottles of white paint for all three curtains.


After letting each curtain dry, I hung them up in our room...and absolutely adore how it looks! When it is day time, the light comes through and the design is a dark outline.


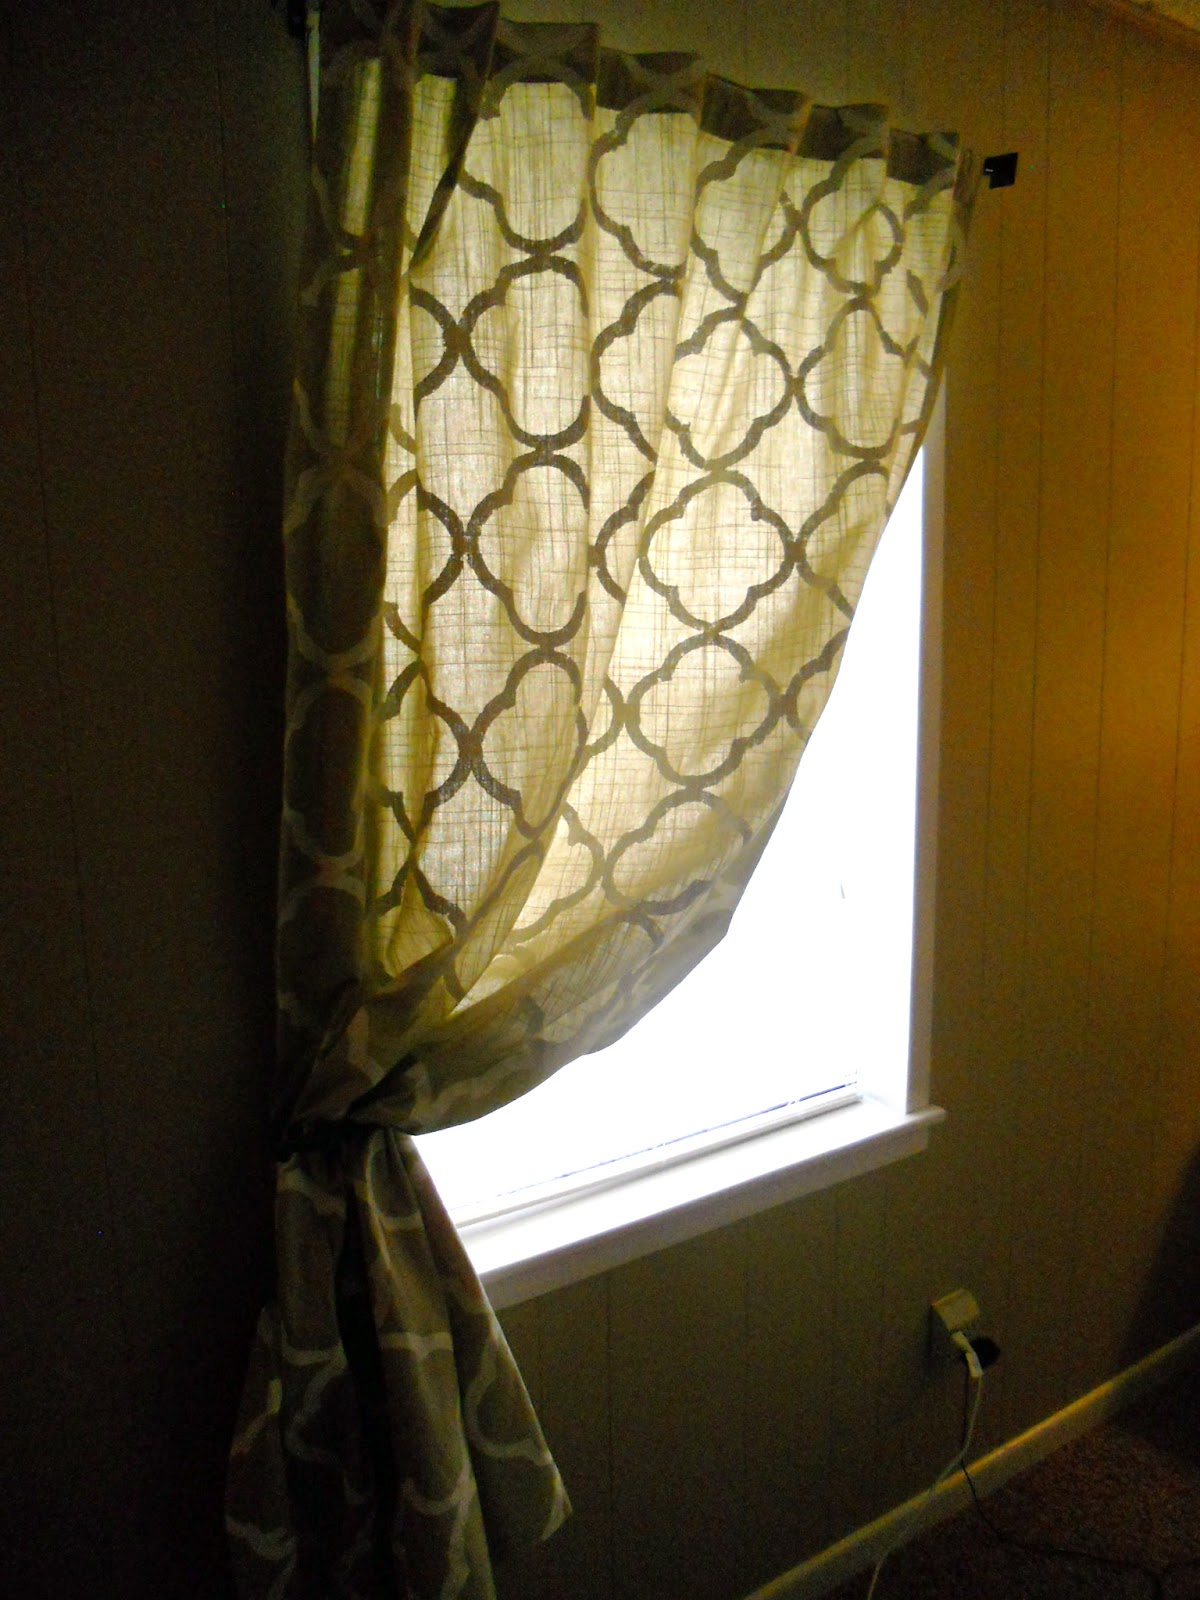

At night, the white stands out, letting me dream about one day getting a Van Cleef clover. Hey, a girl can dream!
Now we just need my quilt on the bed and some decor on the walls...it's coming together...verrryyy slowly...but I like that it is all very intentional.
Another small design element that I really wanted to try was to use matte and gloss paint to create a design on our night stands.

Thanks for sharing my fun with curtains...let me know if you have any questions!
Much love,
Emily Elizabeth
whoa you are so crafty! way to go! it looks AWESOME! :)
ReplyDeleteI So wish I had the time and energy to do this!!!!!
ReplyDeleteWith all the effort you exerted in this project, it's truly rewarding to see how beautiful your curtain turned out. Clover shapes work well with just about anything, right? This project can definitely spice up a boring curtain. :D
ReplyDelete